Why You’ll Love this Gluten Free Pumpkin Bread Recipe
When it comes to comfort food, I can’t resist a slice of gluten-free pumpkin bread. The moment I take that first bite, I’m enveloped in warm, spiced goodness.
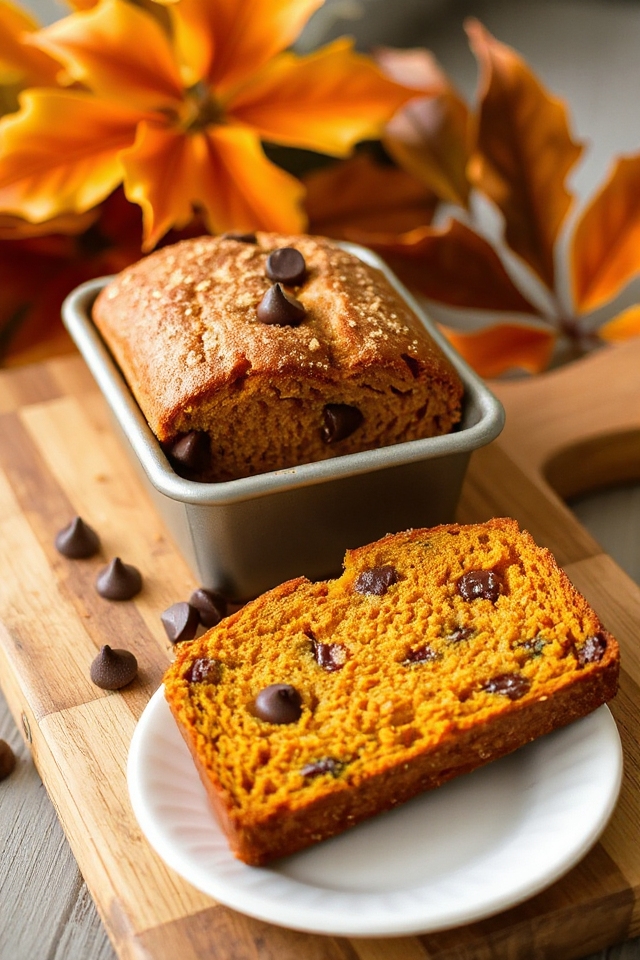
It’s moist, rich, and bursting with flavor, making it perfect for any occasion. I love how it fills my kitchen with a heavenly aroma, inviting everyone to gather around the table.
Plus, it’s a fantastic option for friends with gluten sensitivities, so everyone can enjoy it. Whether I’m having it for breakfast or as a snack, this pumpkin bread always brings a smile to my face.
You’ve got to try it!
Ingredients of Gluten Free Pumpkin Bread
When it comes to gathering the ingredients for this delightful gluten-free pumpkin bread, you’ll want to make sure you have everything on hand before you get started. Trust me, there’s nothing worse than realizing you’re short on something halfway through the mixing. I’ve been there, and it’s not pretty.
So, let’s get into the nitty-gritty of what you need to whip up this cozy treat.
Ingredients for Gluten Free Pumpkin Bread:
- 4 cups gluten-free flour
- 2 teaspoons cinnamon
- 2 teaspoons baking soda
- 1 teaspoon baking powder
- 1 1/2 teaspoons salt
- 2 teaspoons xanthan gum (or 2 teaspoons guar gum)
- 1/2 teaspoon ground cloves
- 1 teaspoon allspice
- 1 teaspoon nutmeg
- 1 cup white sugar
- 2/3 cup brown sugar
- 15 ounces pumpkin puree (like Libby’s)
- 4 large eggs
- 1/4 cup canola oil
- 1 cup unsweetened applesauce
- 1 cup nonfat milk
- 1 1/2 cups semi-sweet chocolate chips (optional, but highly recommended)
Now, let’s chat about these ingredients for a moment. First off, if you’re wondering about the gluten-free flour, just make sure you’re using a blend that includes xanthan or guar gum—this helps to mimic the texture that gluten usually provides.
And that pumpkin puree? You can’t go wrong with Libby’s, but if you’re feeling adventurous, homemade pumpkin puree could be a fun twist. Just remember, baking is like a science experiment—so precision is key.
Also, if you’re like me and can’t resist adding chocolate chips, go for it; they add a delightful sweetness that pairs perfectly with the spices. Just imagine, warm slices of pumpkin bread, punctuated with gooey chocolate. What could be better?
How to Make Gluten Free Pumpkin Bread
Alright, let’s plunge into the fun part—making that scrumptious gluten-free pumpkin bread. First things first, grab a very large mixing bowl because we’re about to create some magic. Start by beating together 4 large eggs until they’re frothy and bubbly. It’s a bit like giving them a workout, which they definitely need.
Once your eggs are ready to go, mix in 1 cup of white sugar, 2/3 cup of brown sugar, 15 ounces of pumpkin puree (I say go with Libby’s if you want a sure win), 1 cup of unsweetened applesauce, and 1/4 cup of canola oil. You’re going to want to mix this well until everything is combined, and it should look like a beautiful orange blend. Seriously, it’s like fall in a bowl.
Now, let’s tackle those dry ingredients. In a separate bowl, whisk together 4 cups of gluten-free flour, 2 teaspoons of cinnamon, 2 teaspoons of baking soda, 1 teaspoon of baking powder, 1 1/2 teaspoons of salt, 2 teaspoons of xanthan gum (or guar gum), 1/2 teaspoon of ground cloves, 1 teaspoon of allspice, and 1 teaspoon of nutmeg. It sounds like a lot, but trust me, it’s worth it.
Gradually mix these dry ingredients into your wet mix, beating in half at a time. This helps prevent flour clouds from exploding all over your kitchen—unless you enjoy cleaning up floury chaos. Once everything is well combined, slowly beat in 1 cup of nonfat milk until there are no lumps left. If you’re feeling adventurous (or just a little indulgent), toss in 1 1/2 cups of semi-sweet chocolate chips. At this point, you can almost taste the deliciousness, right?
Now, it’s time to pour that luscious batter into 6 greased and floured small loaf pans. Fill each pan about 2/3 to 3/4 full, because these loaves like to rise. Don’t forget to sprinkle a little brown sugar and cinnamon on top of each loaf for that extra touch of sweetness.
Pop them into a preheated 350-degree oven for about 40-45 minutes. You’ll know they’re done when they’re golden brown and a toothpick inserted in the center comes out clean. And just like that, you’ve got yourself some warm, cozy pumpkin bread that’s perfect for sharing—or not. No judgment here if you want to keep it all to yourself. Enjoy every bite!
Gluten Free Pumpkin Bread Substitutions & Variations
Ever wondered how to customize your gluten-free pumpkin bread to suit your taste or dietary needs?
I love experimenting with different ingredients! You can swap out the sugar for coconut sugar or use maple syrup for a natural sweetener.
If you’re dairy-free, almond or oat milk works great in place of nonfat milk. For added flavor, consider incorporating nuts, dried cranberries, or even a hint of orange zest.
If you want to boost nutrition, try adding chia seeds or flaxseed meal. Each variation brings a unique twist, making this recipe endlessly adaptable to your preferences!
What to Serve with Gluten Free Pumpkin Bread
After experimenting with various substitutions and variations for gluten-free pumpkin bread, you might be wondering what to serve alongside it.
I love pairing it with a dollop of whipped cream cheese or a sprinkle of cinnamon sugar for a sweet touch. For a heartier option, try serving it with a side of warm apple butter or homemade berry jam.
A steaming cup of spiced chai or herbal tea complements the flavors beautifully, too. If you’re feeling adventurous, top it with a scoop of vanilla ice cream for a delightful dessert twist.
Enjoy discovering your favorite combinations!
Additional Tips & Notes
While making gluten-free pumpkin bread can be a straightforward process, there are a few tips that can elevate your baking experience.
First, always measure your flour accurately; too much can lead to dense bread. I recommend letting the batter sit for a few minutes before pouring it into the pans, allowing the flavors to meld.
If you want added richness, try substituting some oil with melted butter.
Finally, keep an eye on your bread as it bakes; ovens can vary, and using a toothpick to check for doneness is always a good idea.
Happy baking!