Why You’ll Love this Pumpkin Granola Recipe
Have you ever craved a snack that’s both delicious and nutritious? I know I have! That’s why I absolutely love this pumpkin granola recipe.
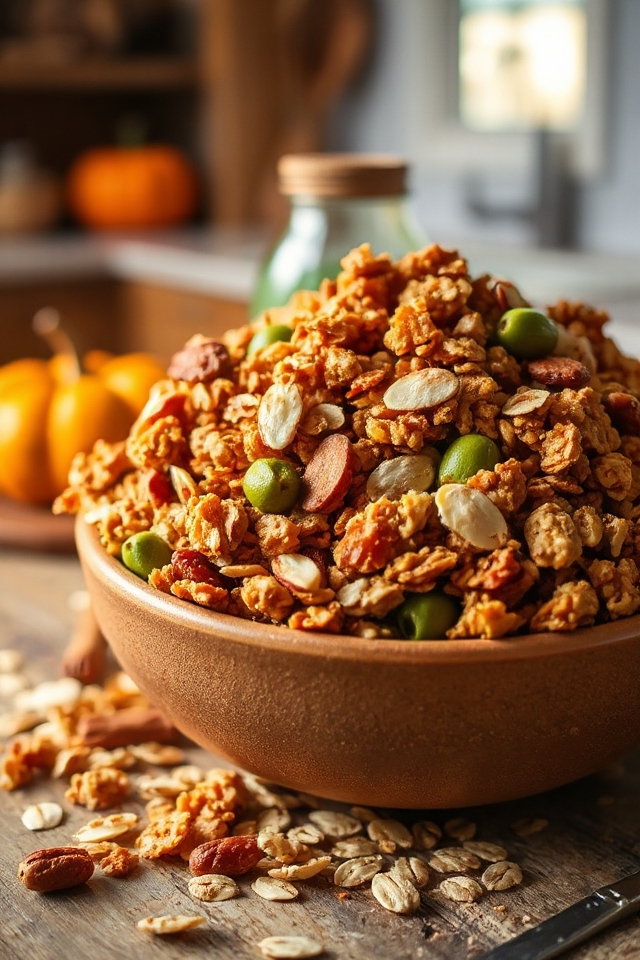
It combines wholesome ingredients that fuel my body while satisfying my sweet tooth. The warm spices and the crunch of nuts make every bite a delight.
Plus, it’s super easy to whip up, making it perfect for busy mornings or afternoon cravings. I love knowing I’m indulging in something that’s not only tasty but also packed with nutrients.
Trust me, once you try it, you’ll be hooked on this homemade goodness!
Ingredients of Pumpkin Granola
When it comes to whipping up a batch of pumpkin granola, the ingredients play a starring role. Each one brings its own special flavor and texture to the mix, creating that delightful crunch we all crave. Plus, many of these ingredients are quite versatile, so you can even swap some out based on what you have in your pantry.
So, let’s take a look at what you’ll need to bring this delicious recipe to life.
Ingredients:
- 2/3 cup canned pumpkin puree
- 2 tablespoons 1% low-fat milk or almond milk
- 1/2 cup sugar-free maple syrup
- 1 tablespoon vanilla extract
- 2 teaspoons pumpkin pie spice
- 2 teaspoons ground cinnamon
- 3 1/2 cups whole rolled oats
- 1/2 cup sliced almonds
- 1/2 cup pepitas (or walnuts, pecans, or pistachios)
- 1/3 cup stevia or Splenda sugar substitute
- 1/2 cup golden raisins
Now, let’s talk about those ingredients a little more, shall we?
First off, if you’re not a fan of pumpkin puree, you can totally experiment with applesauce or even mashed bananas as a substitute; just keep in mind that the flavor will shift a bit.
Also, the nuts and seeds? They’re not just for crunch; they add healthy fats and protein too.
And if you don’t have golden raisins on hand, feel free to toss in whatever dried fruit you fancy, just make sure it complements the spices.
I once used cranberries when I was out of raisins, and it turned out pretty darn good.
How to Make Pumpkin Granola
Making pumpkin granola isn’t only easy but also a fun way to fill your kitchen with delicious fall aromas. So, let’s get started on this cozy journey. First, grab a medium bowl and toss in 2/3 cup of canned pumpkin puree.
Now, if you’re like me and thought you’d more than one can but only found a half-empty one lurking in the back of the pantry, don’t panic! Just make sure you have enough, or you could always supplement it with some applesauce for a twist.
Next, add 2 tablespoons of milk—either 1% low-fat or almond milk works fine—along with 1/2 cup of sugar-free maple syrup. This is where the magic begins; whisk everything together until it’s smooth and combined. Don’t forget to add 1 tablespoon of vanilla extract, 2 teaspoons of pumpkin pie spice, and 2 teaspoons of ground cinnamon for that warm, inviting flavor.
Once you’ve got your wet ingredients all mixed up, it’s time to introduce the stars of the show: the dry ingredients. Slowly fold in 3 1/2 cups of whole rolled oats, 1/2 cup of sliced almonds, and 1/2 cup of pepitas.
If you’re feeling adventurous, you can swap pepitas for walnuts, pecans, or even pistachios—whatever floats your boat. Sprinkle in 1/3 cup of stevia or Splenda sugar substitute, and mix it all up until every oat and nut is coated in that pumpkin goodness.
Now, here’s a tip from my own clumsy kitchen adventures: spread the mixture evenly on a baking sheet that you’ve lightly sprayed with nonstick cooking spray.
Now we’re heading to the oven—preheat it to a low 275 degrees Fahrenheit. This slow-baking process is key to getting that perfect crunchy texture.
Pop the granola in and let it bake for about 1 hour and 15 minutes. You can play around with the time; if you prefer a chewier granola, take it out a bit earlier. Just keep an eye on it so it doesn’t turn into a burnt offering to the snack gods.
When it’s done, let it cool for a moment, then stir in 1/2 cup of golden raisins. Trust me, it adds a sweet touch that complements the spices perfectly.
Once it’s completely cooled, store your pumpkin granola in an airtight container—if it makes it that far without being devoured. Enjoy munching on it as a snack or sprinkle it on yogurt for a delightful breakfast treat. Happy cooking!
Pumpkin Granola Substitutions & Variations
While pumpkin granola is delicious as is, you can easily customize it to fit your taste preferences or dietary needs.
For a nut-free version, I swap out almonds for sunflower seeds. If I want to add more protein, I include some chia seeds or hemp hearts. You can also switch the sweetener; honey or agave syrup works well if you’re not avoiding sugar.
Feeling adventurous? Try adding dried cranberries or dark chocolate chips for a twist!
And for those who love spices, a dash of nutmeg or ginger can elevate the flavor. The possibilities are endless!
What to Serve with Pumpkin Granola
Customizing your pumpkin granola opens up a world of delicious options, but it’s also important to contemplate what to pair it with for a complete meal.
I love serving my granola with a dollop of Greek yogurt for added creaminess and protein. Fresh fruits, like sliced bananas or berries, not only enhance the flavor but also add vibrant colors.
A splash of almond milk makes for a delightful cereal experience, too. If I’m feeling indulgent, I might drizzle some honey or maple syrup on top.
These pairings elevate my pumpkin granola, making breakfast or a snack truly satisfying.
Additional Tips & Notes
To guarantee your pumpkin granola turns out perfectly every time, I recommend keeping a few key tips in mind.
First, don’t skip the nonstick spray on your baking sheet; it’ll prevent sticking.
Next, feel free to experiment with nuts or seeds based on your preference—variety keeps it exciting!
If you want extra crunch, let it bake a bit longer. For a more chewy texture, reduce the baking time.
Finally, store your granola in an airtight container to maintain freshness.
Trust me, these small adjustments can make a big difference in the final result! Enjoy your delicious creation!